i used cs2. it should work the same in other editions. i don't know anything about anything else...sorry if you are trying to make it through life with corel draw or something like that.

the way i have my action set it to use a photograph at full resolution out of my camera (already edited), round the corners and fill in the background space with white, change the resolution and size (since I'm going to post it to my blog...probably not print pictures with rounded corners), save the file in my "blog to do" folder, and close it
change your version however you like.
but if you don't know what you're doing yet, follow these steps exactly to figure it out. if you goof up while recording your action hit stop and go back and trash whatever step you don't like.
start with an opened photo (you see I would just share my action with you but our photo sizes are all going to be a bit off and how round we like the corners as well. i don't like the actions where you have to adjust the size of the rounded rectangle every single time so i figured this way out)
1. create new action (the little turning page button)
2. name it whatever (probably Rounded Corners Portrait or Allie is Cool Landscape) and put it in whatever action set you choose
3. hold alt and double-click the background layer of your photo
4. select the shape tool (your settings at the top should be shape layers, rounded rectangle, and some number of pixels...you might need to figure out how many pixels you want to use ahead of time. i liked the look of 400 px but see how you like it with how big your pictures come out of your camera)
5. draw the rounded rectangle onto your photo
6. right-click on the Shape 1 layer and rasterize layer
7. drag Layer 0 to the top of the pile
8. ctl-alt-g to create a clipping mask
9. click on Layer 1 then hold ctl and click the new layer button
10. hit d then hit x
11. alt-backspace (this fills the new layer with white)
12. right-click on Layer 1 and flatten image
13. ctl-alt-i for image size. i change resolution to 72 since i'll be posting it to the internet and the width to 500 px since that's what fits on my blog
14. ctl-shft-s to save as. then i just find my folder (NOT the ORIGINAL) for "blog to do", click on it and leave the filename the same
15. ctl-w to close
16. stop recording
then i recorded a second action only started with a horizontally situated photo.

be sure to save actions or whatever you gotta do to make sure they don't go away when you close photoshop.

oooh - thanks for this! i'm still here reading. love your blog. :)
ReplyDeleteI LOVE this, THANK YOU!! I have already tried it out. More tutorial, more tutorials(chanting)
ReplyDeleteHOORAY--- worried you were over sharing secrets. Bookmarking this for later...
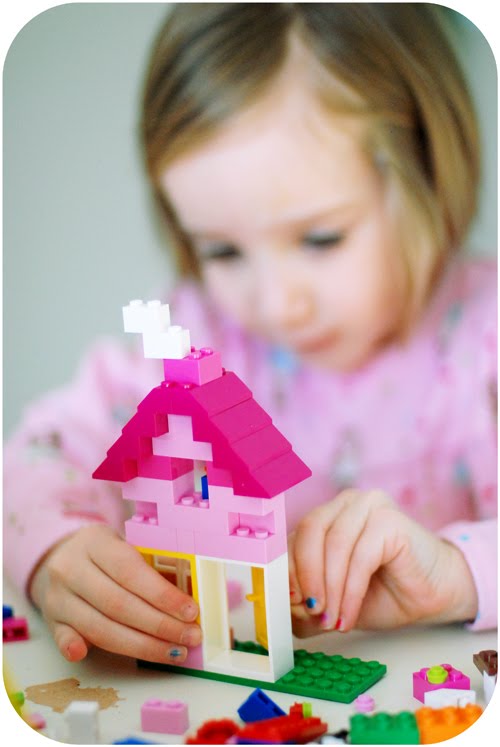
ReplyDeletecan't wait to try it. will you please share your camera settings on the wonderful picture of lily and her lego house? what lens do you use? I'm trying to learn how to take cool pictures like yours.
ReplyDelete